It is very common here in Malaysia to assign a carpenter to help be their designer as well. It is a huge mistake to do so. There are always a mismatch or end up with some grudges by the time the carpenter deliver their promises.
The carpenter always try to win the business and almost all carpenters are not really into wardrobe design. Common mistake to think that the carpenter are good with designing wardrobe. They might had work with many different types of fancy design in the past and this does not necessary means they are good at it. It is not something hard to be achieve by providing a clear idea of what-do-you-want to your carpenter. I am just like many people out there that do not have fancy computer software to do all the 3D rendering work for me to present my idea. Paper and pencil are still the best method when it comes to drafting your idea!
 Initial idea is always best with pen and paper! It is especially important when it comes to the inner compartment and dimension. You need to clarify with your carpenter whether the dimension refer to the inner length or outer length. Outer length inclusive of the thickness of the side panel. The common thickness will be the 16mm board. Anything thicker than this will greatly increase the over cost of the project.
There are at least few rounds of discussion session required before you made up your mind to the design. The role of the carpenter is to advise the designer about the feasibility. We are not any wardrobe designer. I personally lack experience in wood working. A good carpenter that listen to your requirement and try to advise you on how to make your idea work is the carpenter. A very patient carpenter can be hard to find. Dont loose hope though because there are always someone out there. Do not rush through your design!

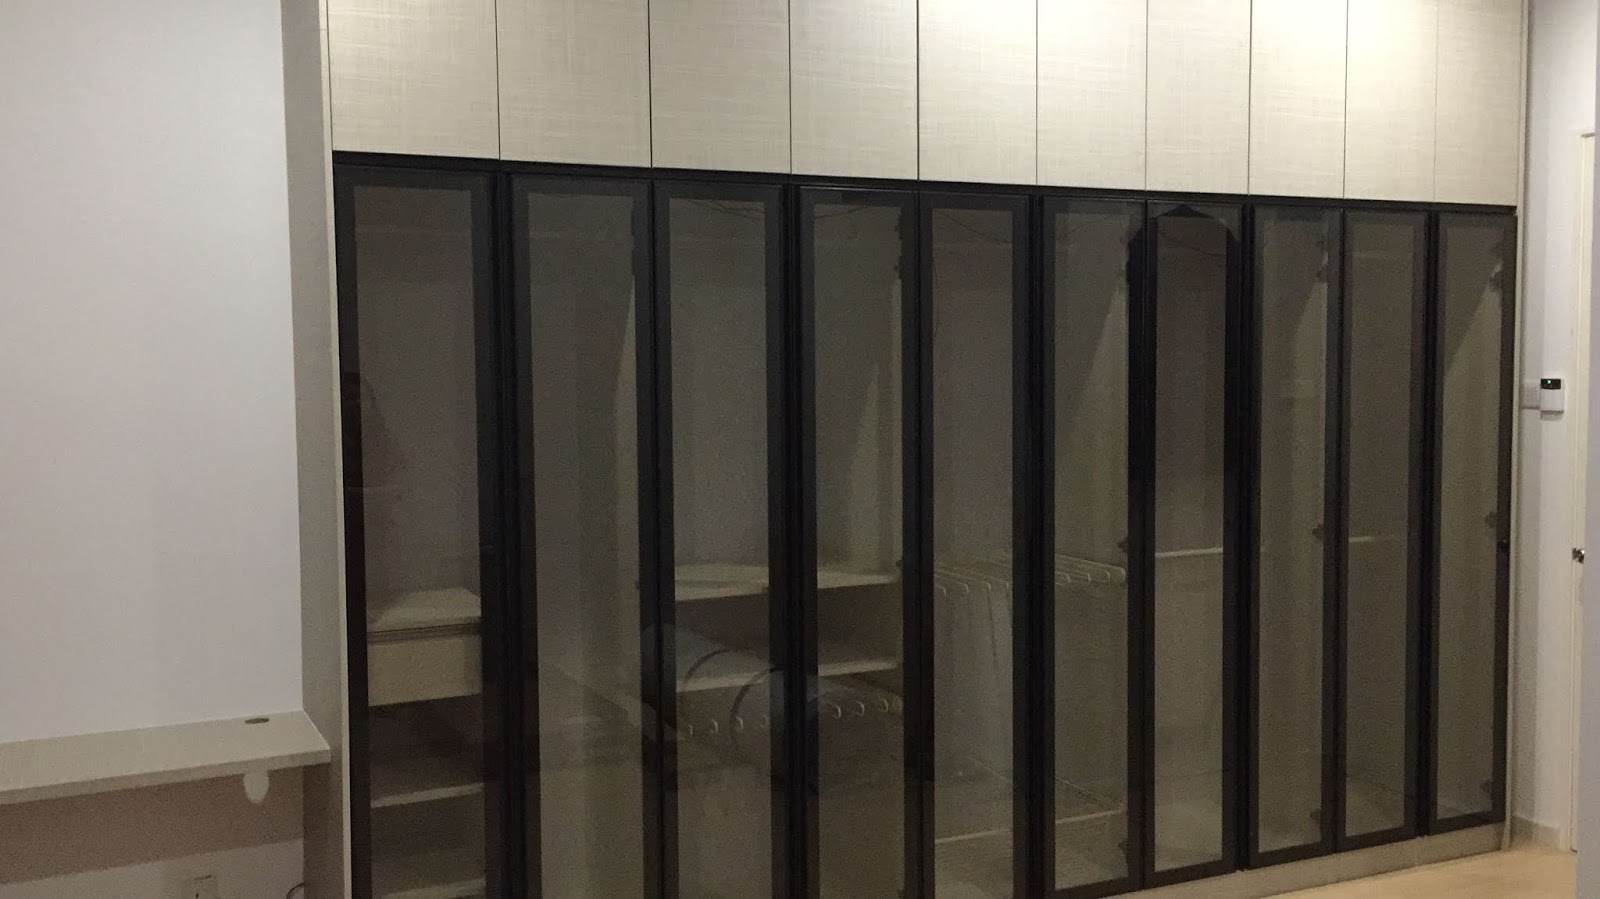
Wardrobe cabinet can be really permanent once it is being installed. Dimension check are required once you are satisfied with the design on a piece of paper. One way to check if the dimension of the overall cabinet fit nicely with the plan will be to make a model using PVC piping. It provides a concept of how long and wide the structure. The skeleton can be handy in making decision if to proceed with planned with your carpenter or improvement required. It helps to visualise how the choices of the door to be made- slide or swing door. Following pictures illustrate how the process of going from framework into real wardrobe. It is so crucial in research and design. Sliding door require an additional 2inches to install the sliding door track.
 Hinges with soft-closing damper are of choice. Video below demonstrate the different between soft-closing hinges with non-soft-closing door. It comes in many different types depending on the price and quality. Always ask for soft-closing hinges like the one show in video.
Adding of LED strip will be another handy tick to be included. An additional switch required to be installed. A pin type or a blade type trigger depends on where to place the switch. A pin type switch is similar to those switch at the refrigerator which gives a seamless look. It required additional space inside of the cabinet to hide the switch leaving the pin protrude from the flat surface. You can easily get a lot from online stores. There are many different types of switches- magnetic, PIR or the one shown in the video.

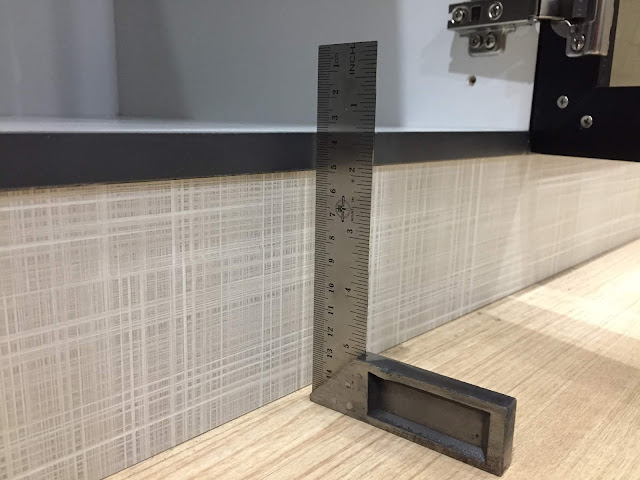
Lastly the base of the wardrobe is levelled roughly 4 inches from the floor. You may want to take note of this to request you carpenter to lower it or remain as 4 inches. It matters especially when you need to decide how high to hang the clothes. Word of advise will be to test out the preferred height. Not everyone are six feet tall! All you need to do will be to hold a hanger and measure how high the horizontal bar for clothes and standardise this height.
Communication is the key to not to be disappointed by your choice of company!

The carpenter always try to win the business and almost all carpenters are not really into wardrobe design. Common mistake to think that the carpenter are good with designing wardrobe. They might had work with many different types of fancy design in the past and this does not necessary means they are good at it. It is not something hard to be achieve by providing a clear idea of what-do-you-want to your carpenter. I am just like many people out there that do not have fancy computer software to do all the 3D rendering work for me to present my idea. Paper and pencil are still the best method when it comes to drafting your idea!
 Initial idea is always best with pen and paper! It is especially important when it comes to the inner compartment and dimension. You need to clarify with your carpenter whether the dimension refer to the inner length or outer length. Outer length inclusive of the thickness of the side panel. The common thickness will be the 16mm board. Anything thicker than this will greatly increase the over cost of the project.
There are at least few rounds of discussion session required before you made up your mind to the design. The role of the carpenter is to advise the designer about the feasibility. We are not any wardrobe designer. I personally lack experience in wood working. A good carpenter that listen to your requirement and try to advise you on how to make your idea work is the carpenter. A very patient carpenter can be hard to find. Dont loose hope though because there are always someone out there. Do not rush through your design!

Wardrobe cabinet can be really permanent once it is being installed. Dimension check are required once you are satisfied with the design on a piece of paper. One way to check if the dimension of the overall cabinet fit nicely with the plan will be to make a model using PVC piping. It provides a concept of how long and wide the structure. The skeleton can be handy in making decision if to proceed with planned with your carpenter or improvement required. It helps to visualise how the choices of the door to be made- slide or swing door. Following pictures illustrate how the process of going from framework into real wardrobe. It is so crucial in research and design. Sliding door require an additional 2inches to install the sliding door track.

Swing door are however save space with more gaps seen between doors and require quite some hinges*. This step also helps in costing. Be sure to specify if you need soft closing or best will be to provide your preferred soft closing hinges. It comes with various model in the market. All you need to do will be to visit the nearest hardware store for wood supplies. Your carpenter should be alble to give you some guide as to where it is. Last resort will be through online. That starts the consumer to business, C2B era.

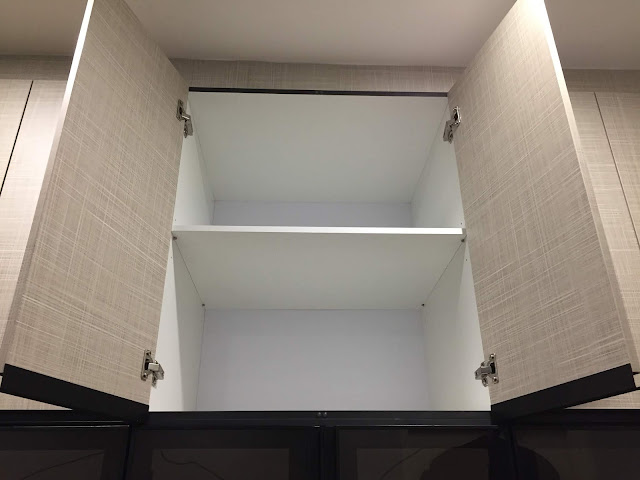
Technically it is easier to opt for hinges uses standard mounting screw. There are hinges uses bigger than usual screw. It will definitely slow down the installation procedure not to mention a bigger hole to be made on the shelve. There are hinges capable to allow the door to be open greater than 90degree. It enable easier access to the content in the wardrobe.

Adding of LED strip will be another handy tick to be included. An additional switch required to be installed. A pin type or a blade type trigger depends on where to place the switch. A pin type switch is similar to those switch at the refrigerator which gives a seamless look. It required additional space inside of the cabinet to hide the switch leaving the pin protrude from the flat surface. You can easily get a lot from online stores. There are many different types of switches- magnetic, PIR or the one shown in the video.
Lastly the base of the wardrobe is levelled roughly 4 inches from the floor. You may want to take note of this to request you carpenter to lower it or remain as 4 inches. It matters especially when you need to decide how high to hang the clothes. Word of advise will be to test out the preferred height. Not everyone are six feet tall! All you need to do will be to hold a hanger and measure how high the horizontal bar for clothes and standardise this height.

Communication is the key to not to be disappointed by your choice of company!

It is advise to allow a clearance of 6 inch gap for curtain and its rail. The following video is an example of not having a gap unless you preferred to have the door to crash onto the curtain rail.
No comments:
Post a Comment